Quick start · Club · Basics · 4 min
Set up your club identity
Name, logo, brand kit and the page members see.
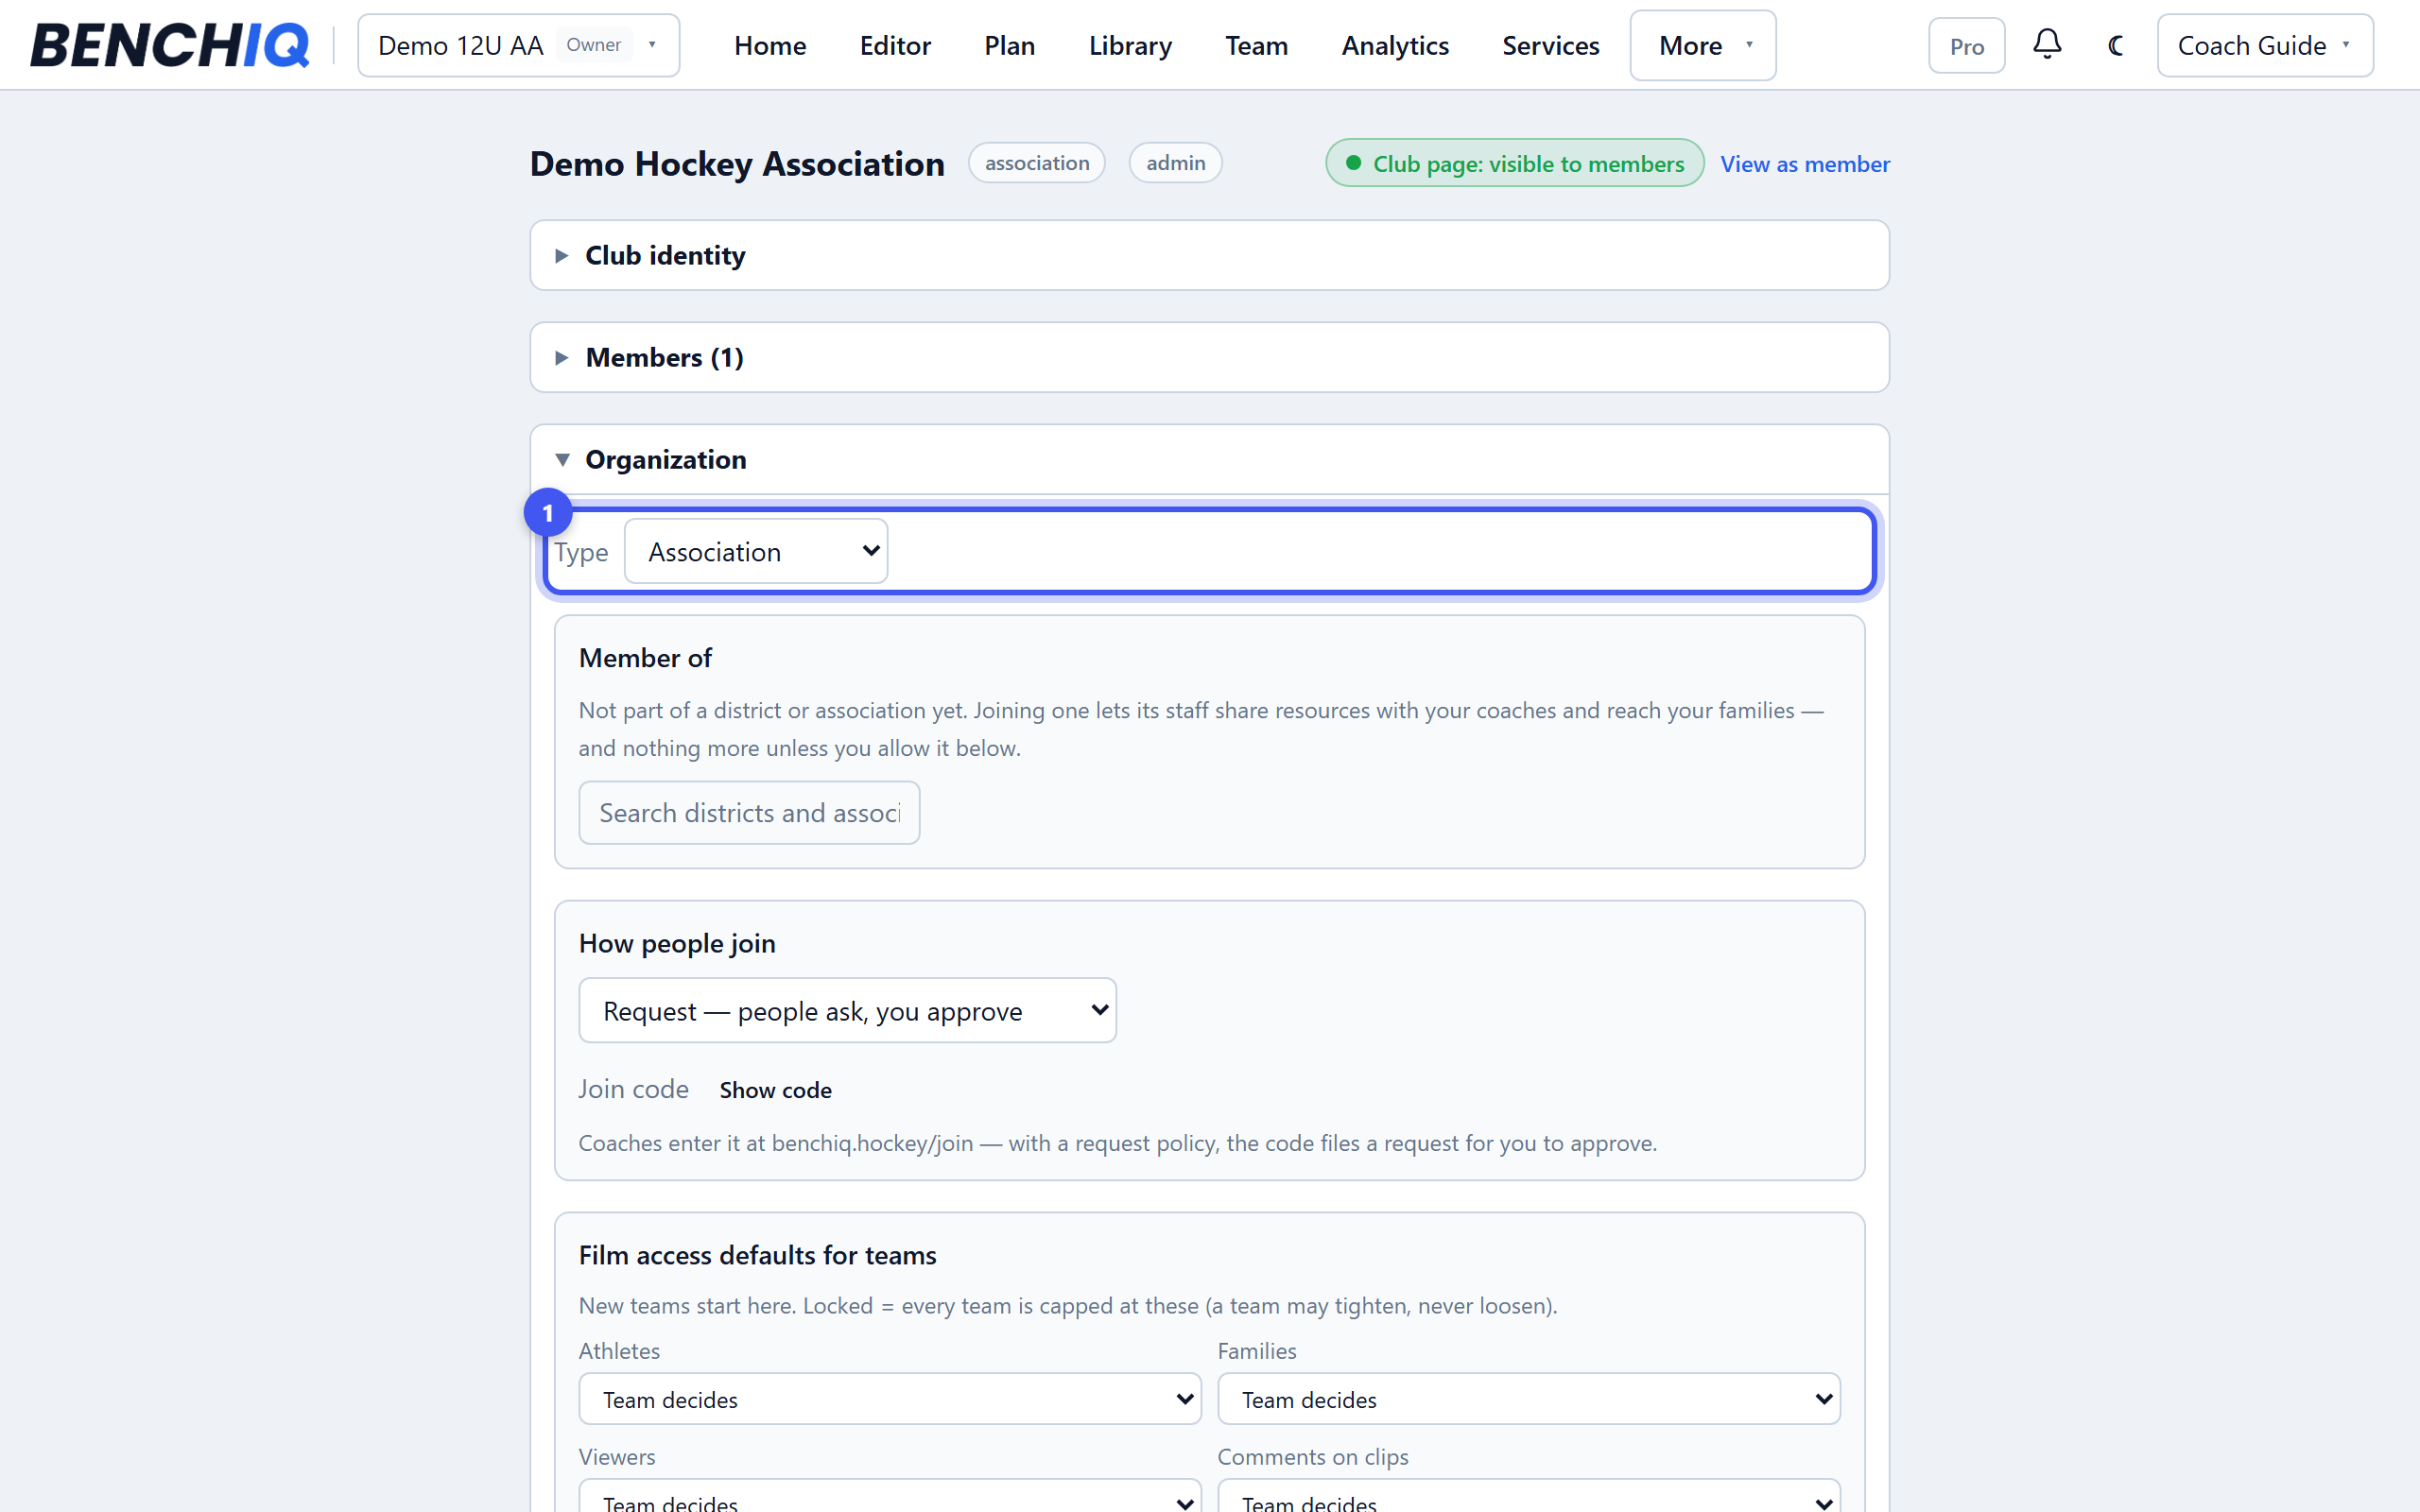
- 1Open the console
Dashboard → Your clubs → your club. The console is a stack of sections; Club identity is first. Everything you do in setup mode is private until you press Activate club.
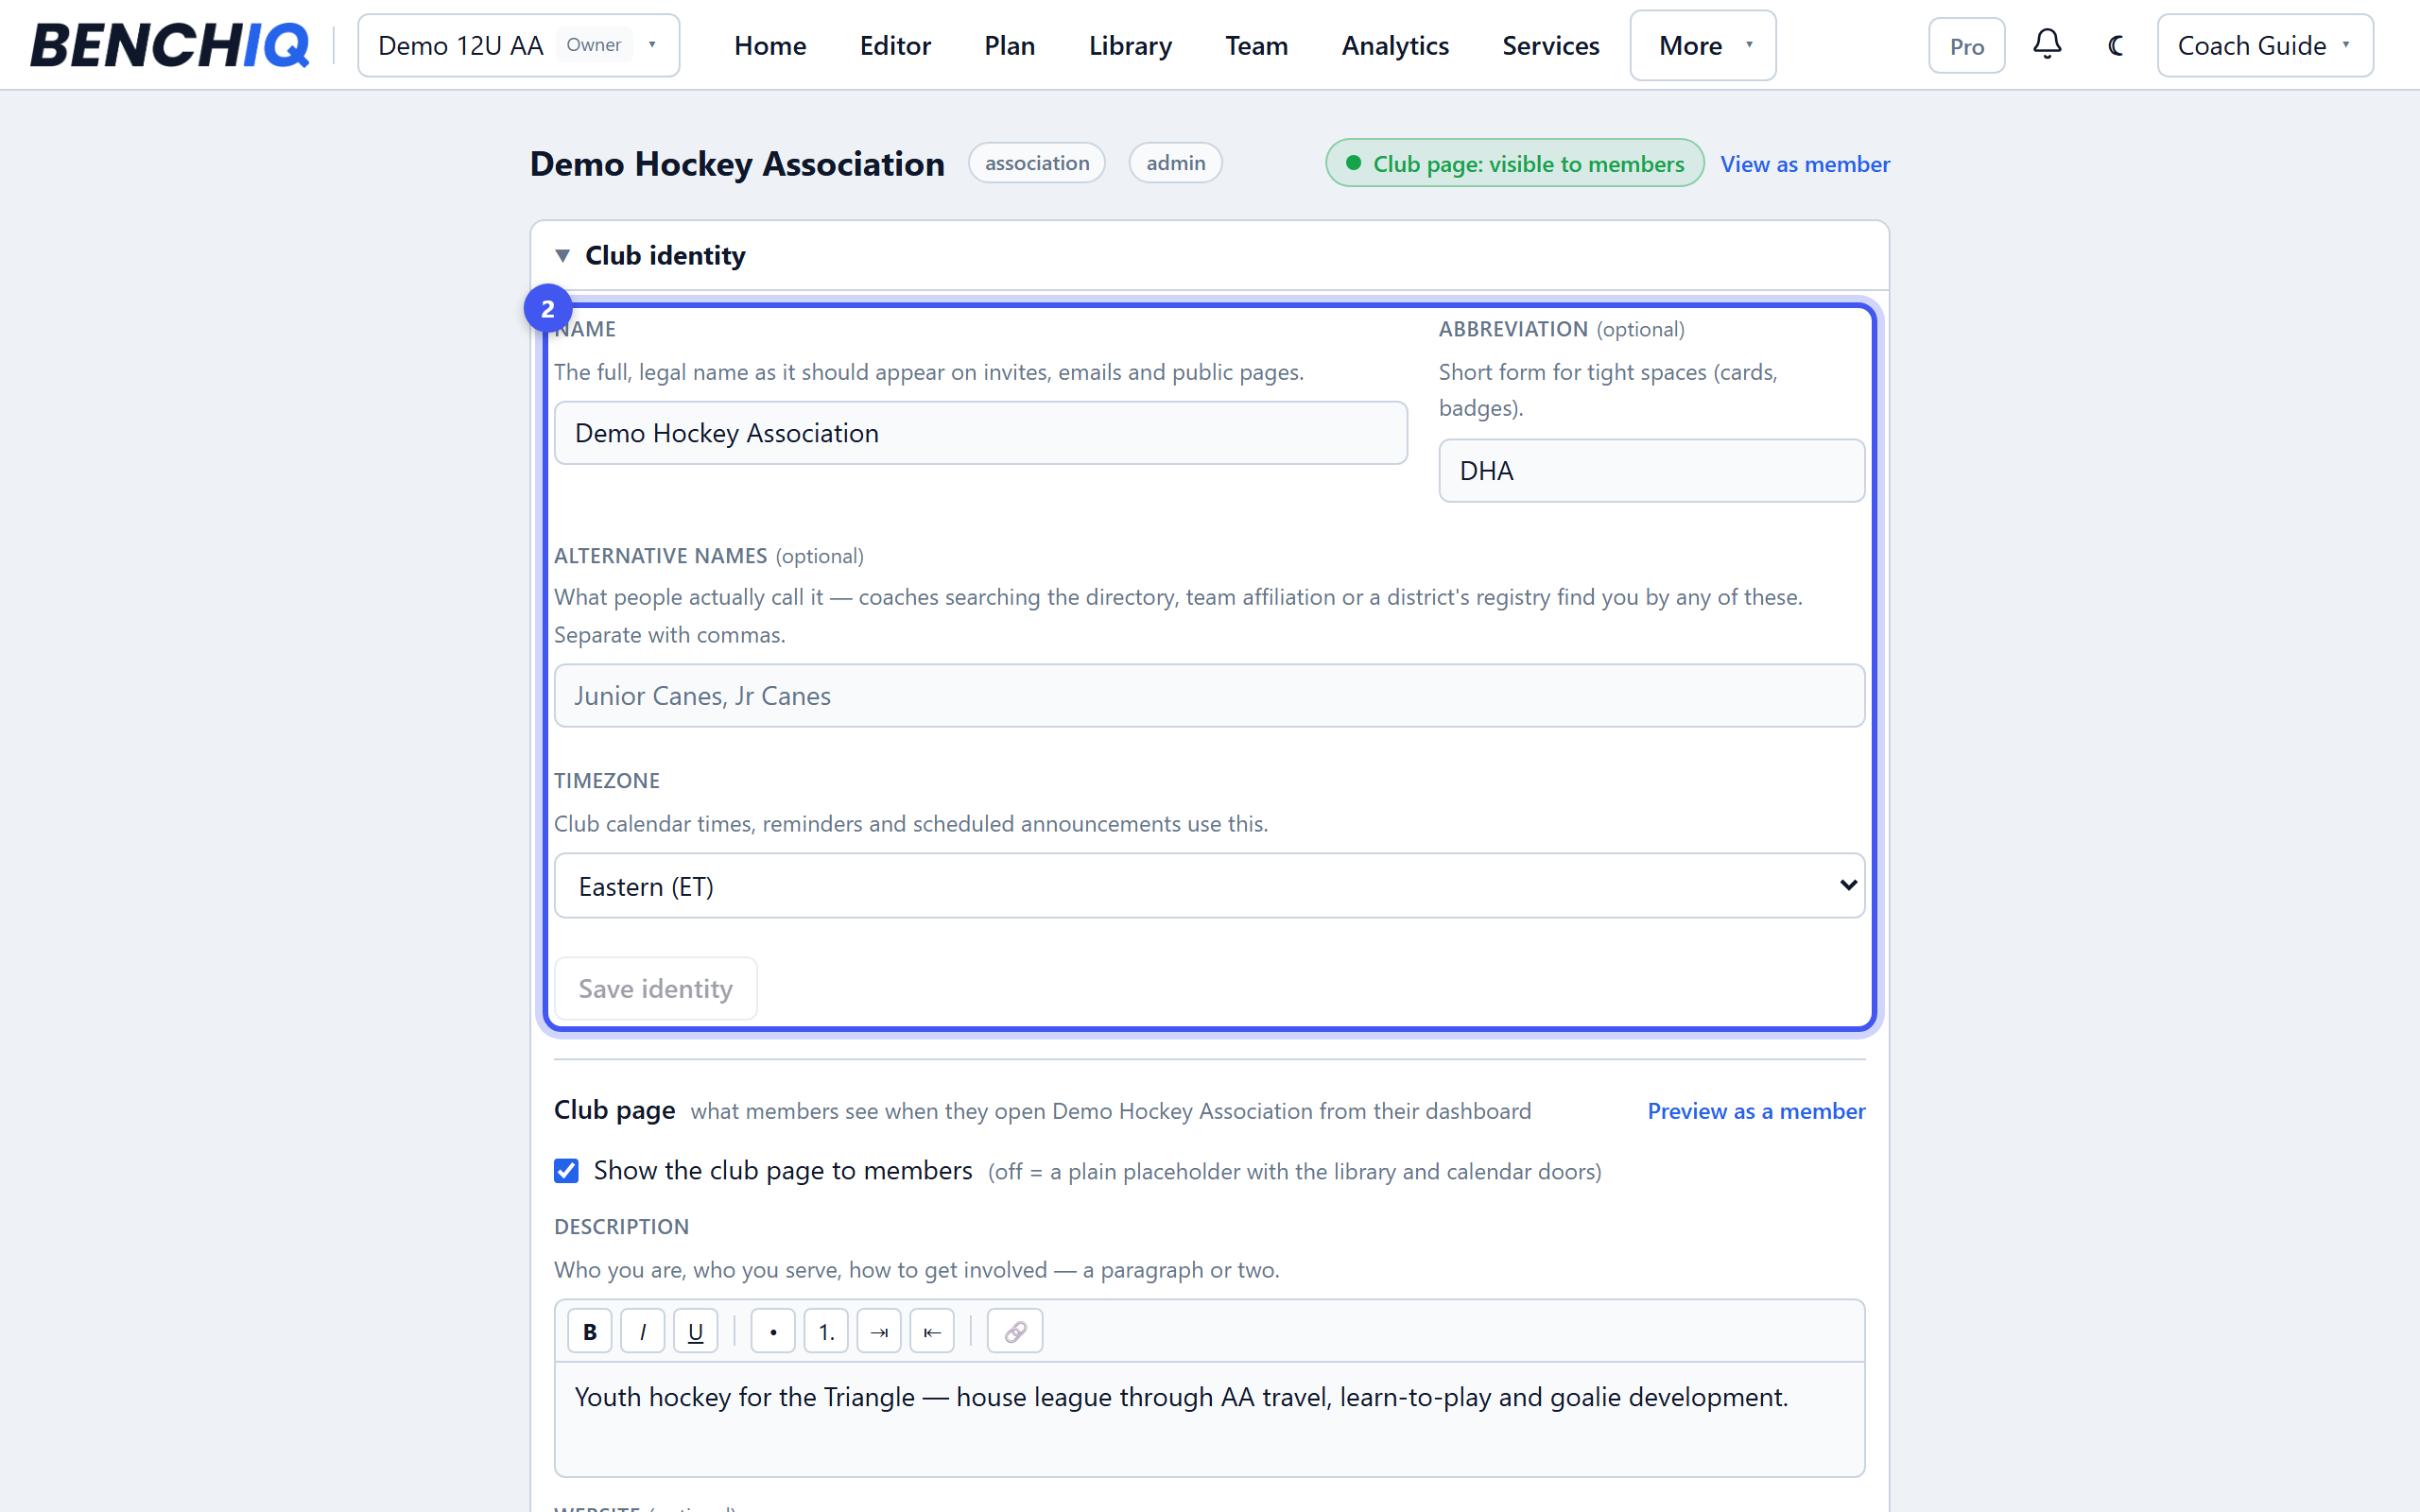
- 2Name and address
The full name as it should appear on invites and public pages, an abbreviation for badges, and alternative names so coaches searching the directory find you. The Public URL name sets benchiq.hockey/club/<name> and the registration address, and the timezone drives calendar times and scheduled announcements. Save identity.
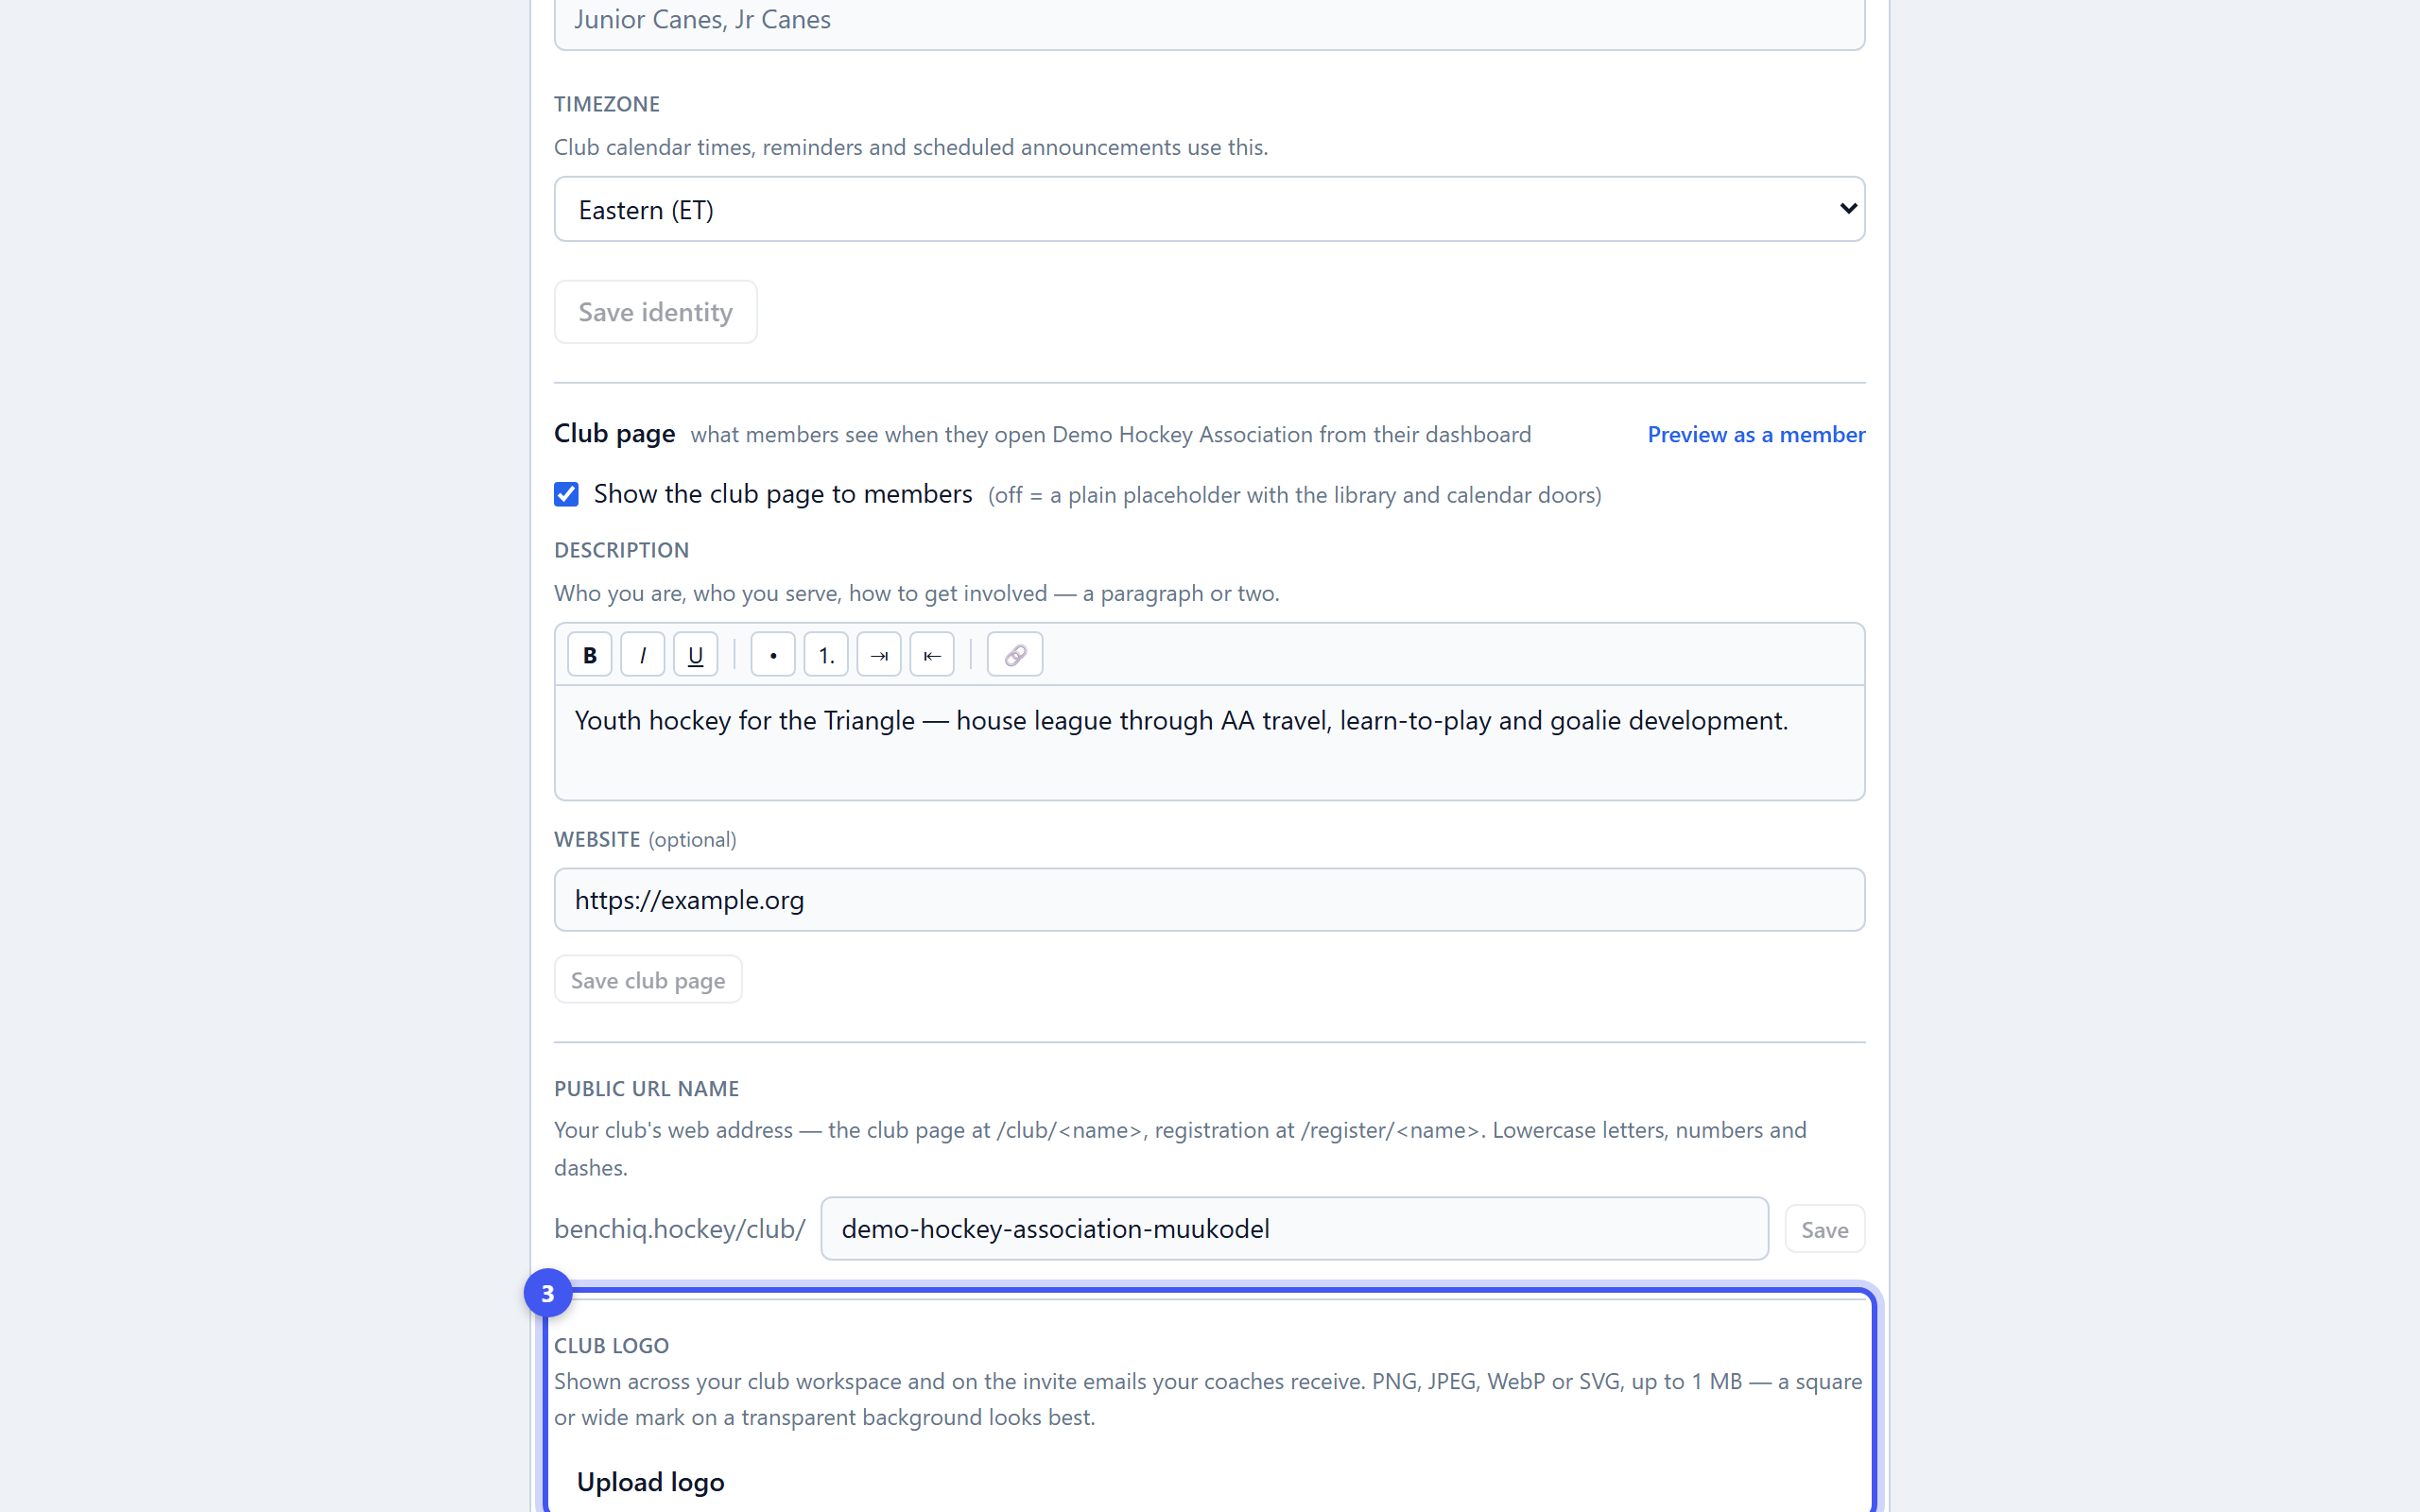
- 3Upload the logo
Upload logo: PNG, JPEG, WebP or SVG up to 1 MB; a square or wide mark on a transparent background looks best. It shows across the club workspace, on coach invites and, through the brand kit, on every club team's cards.
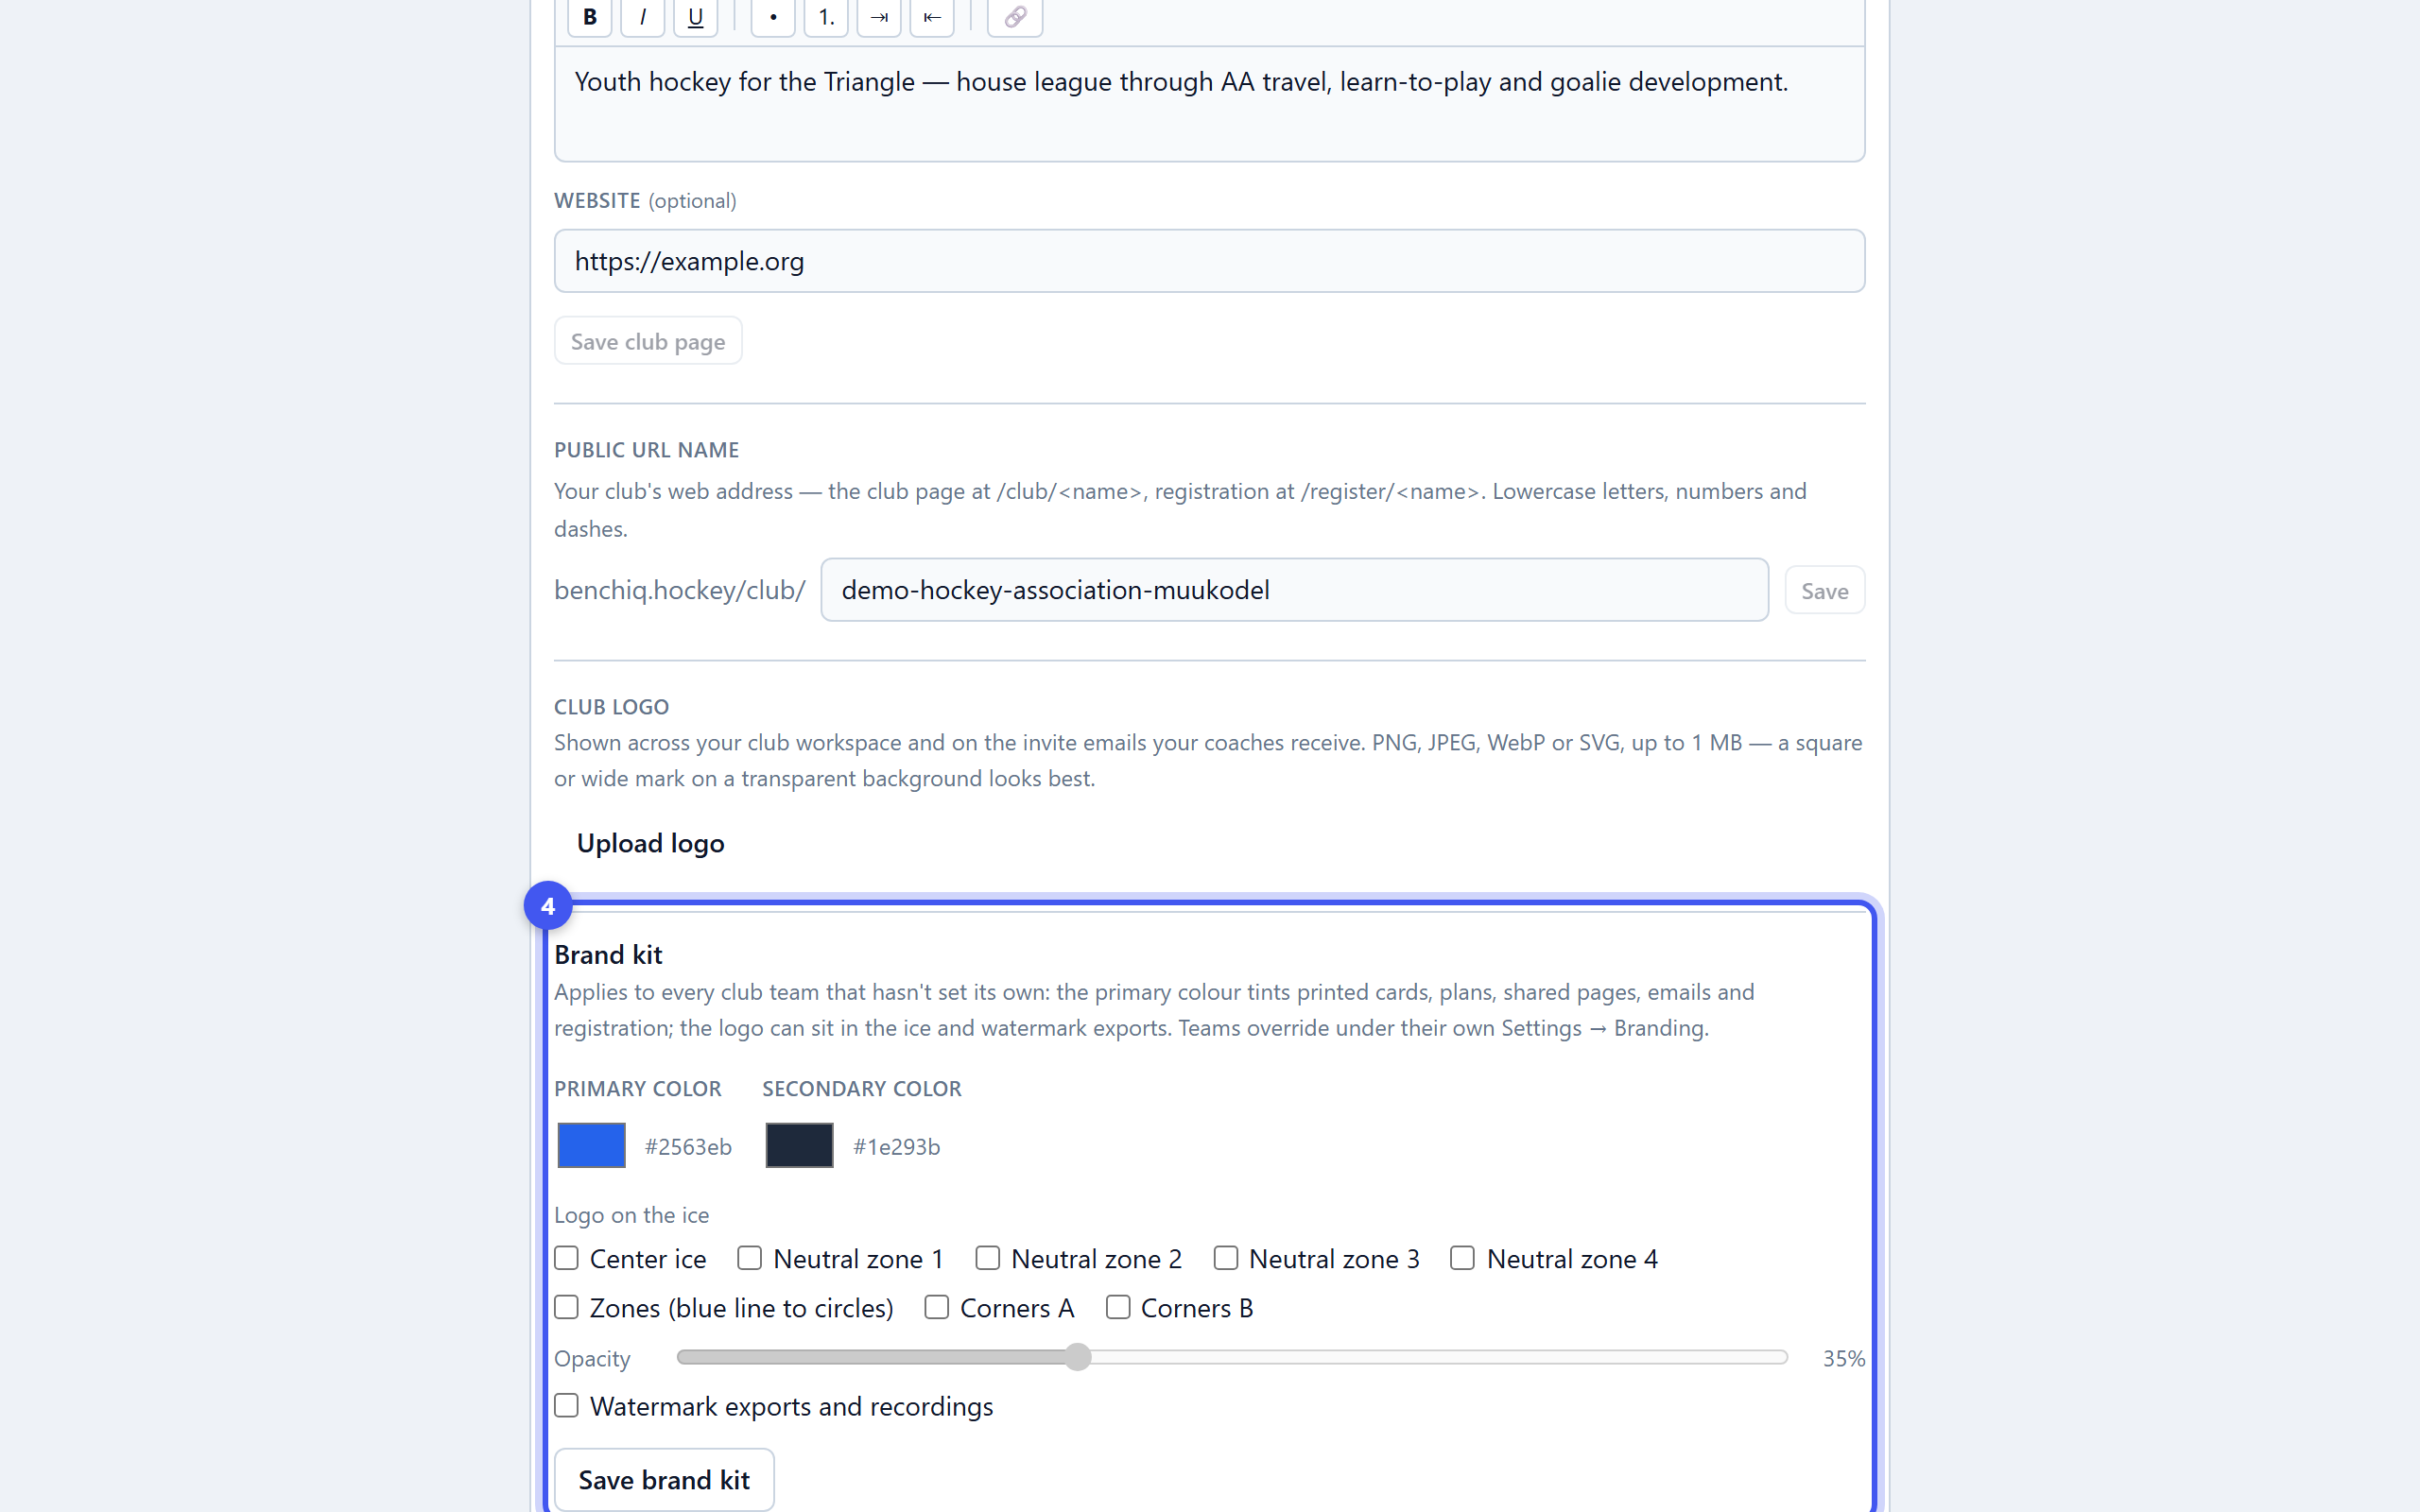
- 4Set the brand kit
Primary and secondary colours tint printed cards, plans, shared pages, emails and registration for every club team that hasn't set its own. Choose where the logo sits on the ice and whether exports are watermarked. Save brand kit.
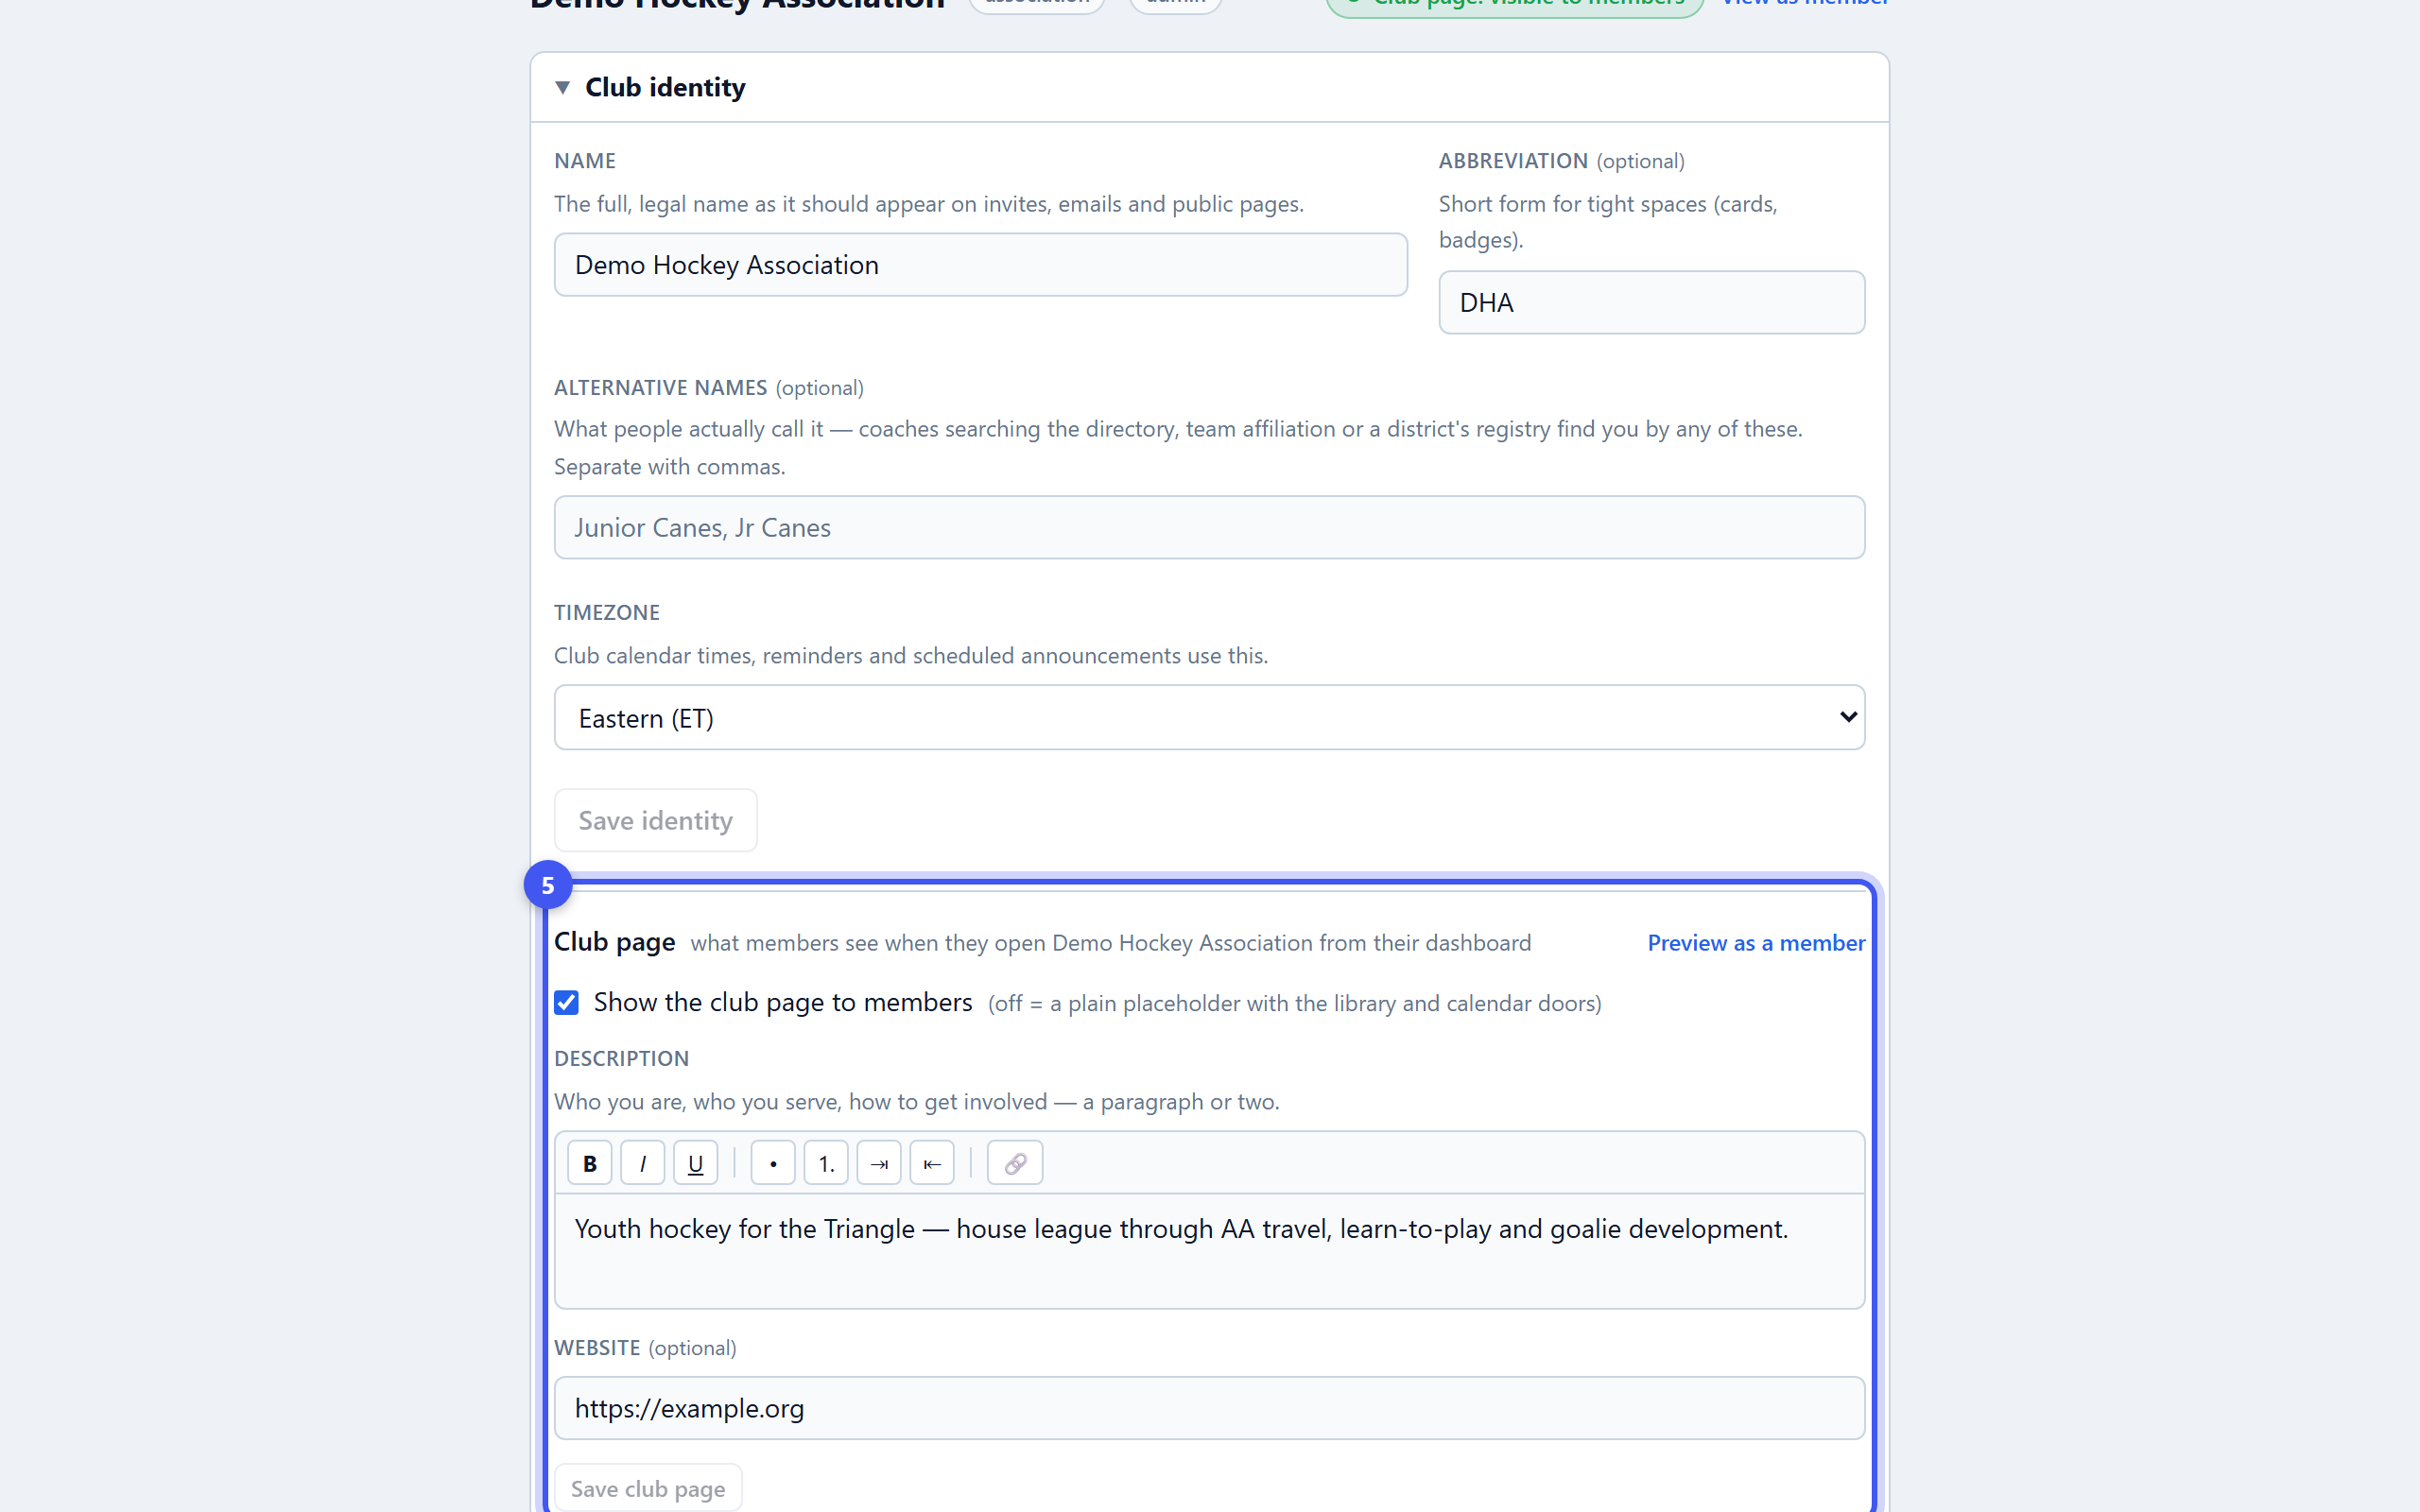
- 5Switch on the club page
Show the club page to members, write a description, add the website and Save club page. Preview as a member shows exactly what coaches and families see: the shared library and calendar doors and your announcements.